Notebooks
Notebooks are interactive collaborative workspaces that combine markdown text with live VQL queries in a single document. They let you build reports that can be updated as new results arrive, post-process the results of hunts and collections, and collaborate with other users on an investigation.
If you prefer to learn by doing, try the Creating Your First Notebook walkthrough.
A notebook is made up of cells. Each cell is either a Markdown
cell (for formatted text, headings, and prose content) or a VQL cell
(for queries). The cells appear as a seamless document until you click
one to bring it into focus, at which point its editing controls
appear. You can add, remove, reorder, and change the type of any cell
at any time.

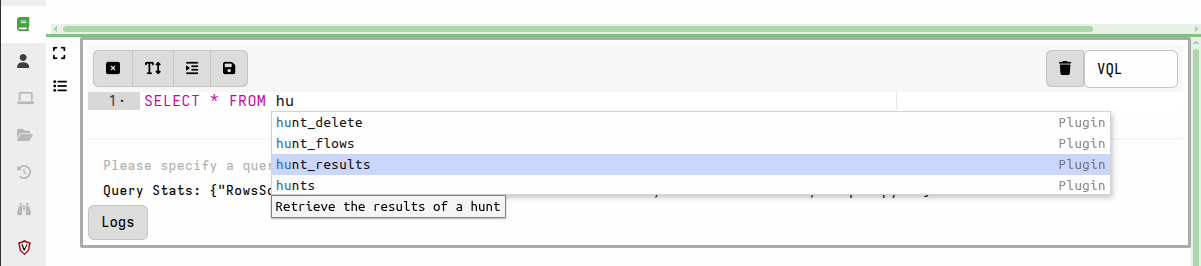
When editing a VQL cell, the GUI offers context-sensitive suggestions
as you type. Plugins that can only appear after a FROM clause are
only suggested when the cursor is positioned after one. You can always
press “?” to see all available completions.
Types of notebooks
Velociraptor creates several kinds of notebooks, each serving a different purpose.
-
Global Notebooks - created manually by users. Free-form documents that can contain any combination of markdown and VQL. They remain in the notebook list until deleted. Only visible to their creator unless explicitly shared with others.
-
Hunt notebooks - created automatically when you view the notebook tab of a hunt. Lets you post-process the hunt’s results using VQL queries that can aggregate data across all clients in the hunt.
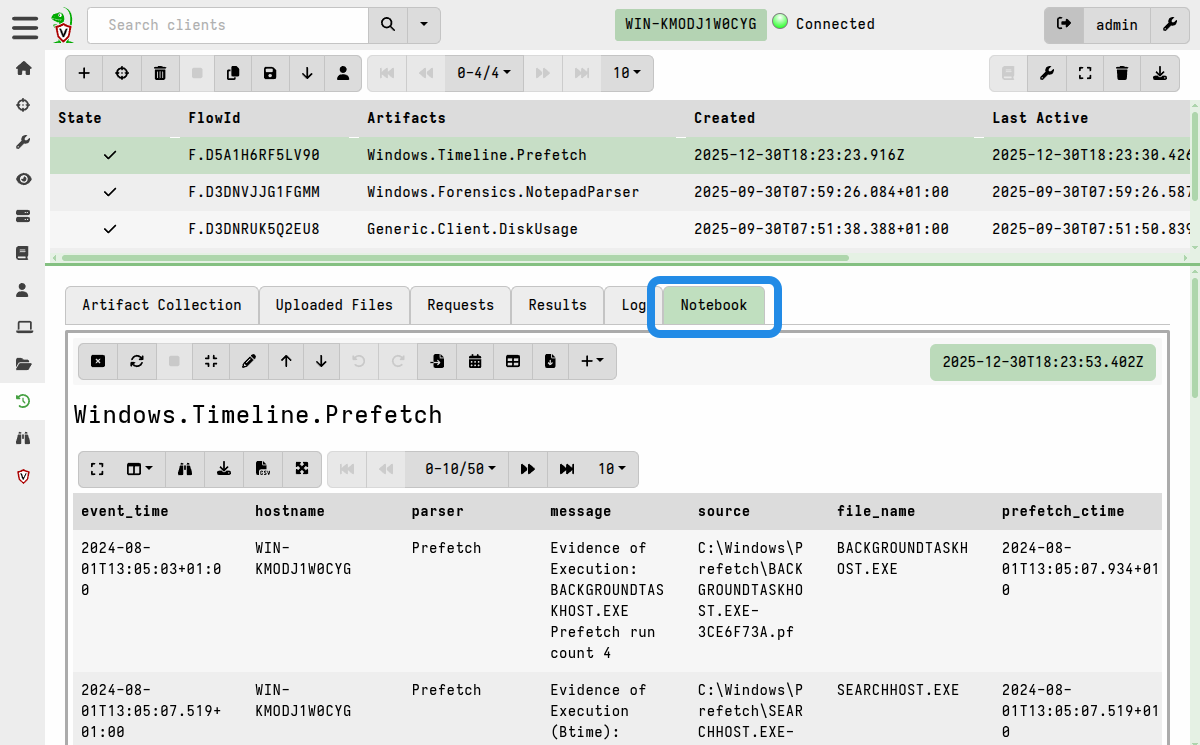
-
Flow notebooks (also called collection notebooks) - created automatically when you view the notebook tab of a client collection. Lets you explore the results of a single artifact collection.
-
Event notebooks - created automatically when you view an event monitoring session.
For hunt, flow, and event notebooks, the server checks whether the
collected artifact includes a notebook section in its definition. If
it does, the notebook is populated with the custom cells from that
section. Otherwise, a default cell is created that simply queries the
artifact’s results.
Unlike Global Notebooks, automatic notebooks are visible to all users
in the org without requiring explicit sharing. Any user with the
NOTEBOOK_EDITOR permission (included in the investigator role and
above) can modify them.
Notebook-scoped variables
In automatically generated notebooks (hunt, flow, or event notebooks),
variables such as StartTime, EndTime, ClientId, FlowId, and
the artifact name are populated in the notebook’s runtime environment.
This allows plugins such as source() to retrieve the correct results
(e.g. collection data in a flow notebook, or hunt data in a hunt
notebook) without needing you to explicitly pass it all the function
arguments.
Notebook creation from templates
Every notebook is created from a notebook template. Templates are
artifacts of type NOTEBOOK. They define the initial set of cells,
any parameters the user must fill in, and optional tools or column
formatting. When a user creates a new notebook, the template’s VQL
cells are calculated immediately, one at a time, before the notebook
appears in the GUI. After that, the notebook behaves like any other —
the template is only used for initial setup.
For a complete reference on writing notebook templates, see the Notebook Templates page.
Notebook sharing and collaboration
Global Notebooks are private by default. Only the creator can see them in the notebook list. You can share a notebook with all users by making it public, or share it with specific users by adding them as collaborators.
Sharing controls visibility in the GUI, but data inside a notebook is still accessible via VQL to any user who knows the notebook and cell IDs. This means the shared/private setting is a convenience feature, not a security boundary. See the Notebook Sharing page for details.
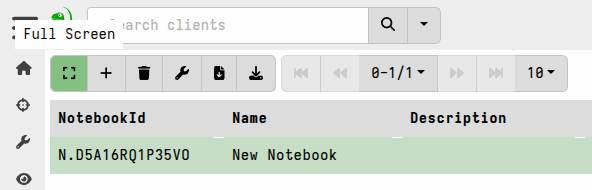
Full-screen mode
Notebooks can be switched to full-screen mode via the notebook toolbar. This is useful when working with large tables, as it lets the notebook take up the full width of the browser window. You can return to the pane view by clicking the collapse button at the upper right.